
Access Point Install Instructions
support TCC Mar 1, 2022
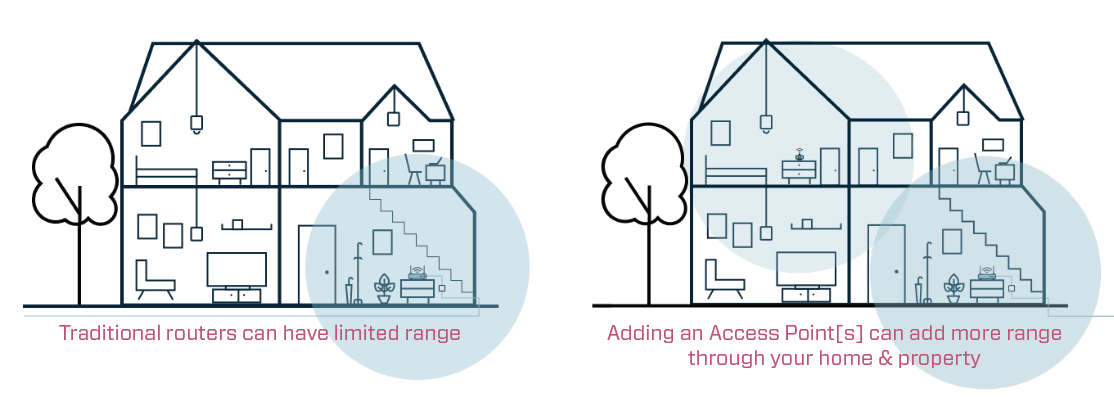
Depending on where your wireless router is located in your home, some areas of your home or property may be left with a weak wifi signal. Installing your wireless router in a central location is always our technicians first choice, however we know is not always possible. This is where an Access Point [AP] can be very beneficial. Adding a Wireless Access Point can not only strengthen areas of your property with weak signal but also allow your WiFi signal to reach areas like the backyard, for example, that it wasn’t able to reach before.
A Wireless Access Point [AP] can be rented from TCC for $5/month and setup is easy. Contact us if you’d like to add one to your existing TCC account.
Setup for Wireless Connected AP with No Ethernet Cable:
- Make sure the switch on the back of the AP is set to RP mode
- Plug the power in and turn the AP on. This process works best if you can boot the AP the first time right beside the Zyxel Router before you deploy it to its new home in another area of your house.
- Once the AP is booted, the LED light with the dot surrounded by a circle or arrows will flash on and off.
- Now, press and hold the WPS button [Key Button] on the router until the WIFI LEDs flash orange
- The AP will auto configure. Once all the LEDs come on and the top icon with the key in the circle is solid, you can unplug the device and move it to where it needs to go.
- If the AP is in a good spot the signal levels on the AP will be GREEN.
AMBER means you need to move the AP farther from the router.
RED means it needs to be closer to the router.
RED BLINKING means there is no connection to the router.
![]() Printable AP Setup Instructions
Printable AP Setup Instructions